Creating a vision board can feel like the beginning of a new adventure, one where you take control of your dreams and goals. This post was born out of my own quest for clarity and motivation in life. I wanted to find a way to visualize my aspirations and keep them front and center—a tangible reminder of what I wanted to achieve. If you’re someone looking to manifest your dreams, gain focus, and set meaningful goals, you’re in the right place.
This guide is crafted for anyone eager to harness the power of visualization through a vision board. Whether you’re a seasoned goal-setter or just beginning to explore what you truly want in life, this is for you. You’ll discover a step-by-step process that makes creating a vision board simple and enjoyable. By the end, you’ll have a personalized tool that not only inspires you but also helps you track your progress towards your goals.
Get ready to dive into a world of creativity and intention. You’ll find practical tips, helpful materials, and a clear plan to design a vision board that genuinely works for you. With each step, you’ll visualize your dreams, making them feel more achievable and real.
Key Takeaways
– Understanding Vision Boards: Learn what a vision board is and why it can be a powerful tool for visualization and goal setting.
– Gathering Your Materials: Find out what you need to create your vision board, from basic supplies to inspiring images.
– Defining Your Goals: Discover how to set clear, actionable goals that resonate with your dreams and desires.
– Regularly Review and Update: Understand the importance of reviewing your vision board regularly to keep it relevant and motivating.
– Celebrate Your Progress: Learn why acknowledging your achievements, big or small, fuels your journey and reinforces your aspirations.
Contents
- 1. Understanding Vision Boards
- 2. Gathering Your Materials
- 3. Defining Your Goals
- 4. Curating Your Images and Words
- 5. Design Your Board
- 6. Assembling Your Vision Board
- 7. Placing Your Vision Board
- 8. Regularly Review and Update
- 9. The Power of Affirmations
- 10. Celebrate Your Progress
1. Understanding Vision Boards

A vision board is your personal canvas for dreams and goals. It’s a creative space where you blend images, words, and symbols that resonate with your aspirations. By tapping into the psychology of visualization, you can amplify your motivation and cultivate a positive mindset. Studies show that visualizing your goals can significantly increase the likelihood of achieving them, as it keeps your focus sharp on what you want to accomplish.
Start by thinking about what truly matters to you. Consider different aspects of your life, such as career, relationships, and personal growth. The clearer your vision, the more powerful your board becomes in guiding you toward your goals.
Key benefits of creating a vision board:
– Clarify Your Aspirations: Identify what you genuinely want in life.
– Spark Creativity: Use the board as a source of inspiration.
– Reinforce Positive Thinking: Daily reminders to stay focused on your objectives.
In short, a vision board is not merely a collection of images; it’s a powerful tool for setting intentions and aligning your actions with your dreams.
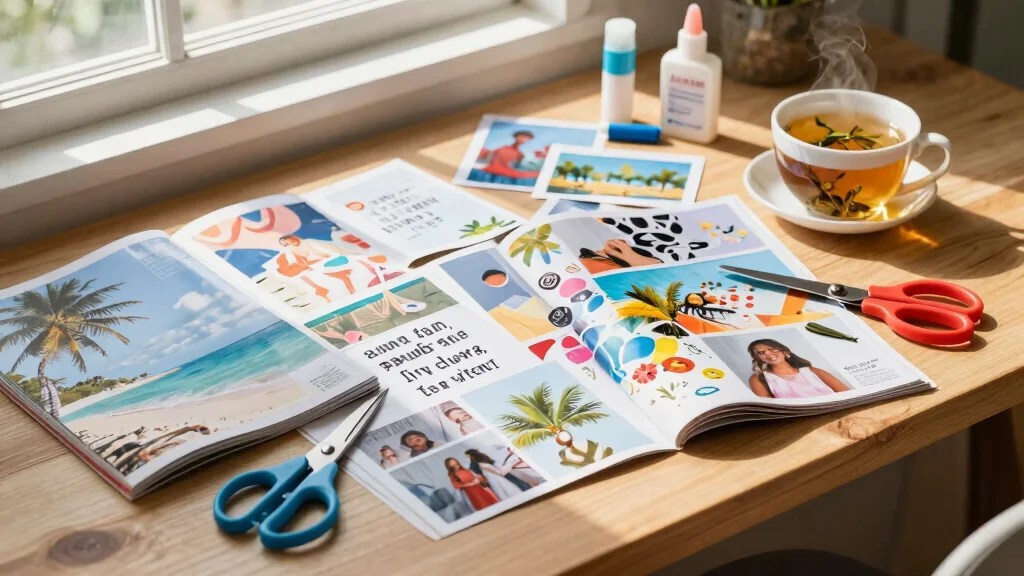
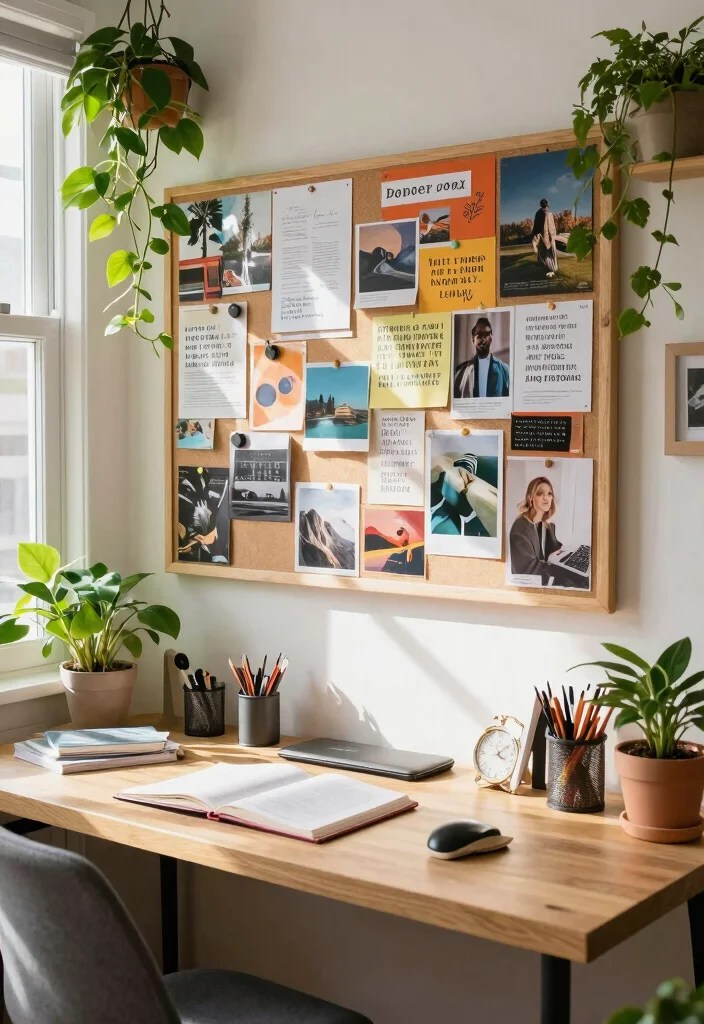
2. Gathering Your Materials

To start crafting your vision board, gather the materials that speak to you. This can be a fun and therapeutic experience. Begin with a base, like a corkboard or poster board, or even opt for a digital platform. Collect magazines, printed images, scissors, glue, and markers. As you gather these items, think about the colors and textures that resonate with your personality, as they contribute to your board’s overall energy.
Consider what will work best for you. For example, larger boards can offer more creative freedom, while smaller ones can be easily transported. Let your imagination run wild as you explore various sources for images and materials that inspire you.
Essential materials to consider:
– Board Choices: Pick a size that suits your space.
– Image Sources: Look for visuals in magazines or online.
– Decorative Extras: Enhance your board with stickers or fabric.
This phase is all about creativity and daydreaming as you collect items that reflect your aspirations.
Gathering Your Materials
Editor’s Choice


How To Create a Vision Board That Actually Works
Tools You’ll Need:
– Poster board or corkboard
– Magazines, printouts, or photos
– Scissors
– Glue or push pins
– Markers or stickers
– A quiet space to reflect and create
Step 1: Define Your Purpose
Before diving into the creative process, take a moment to think about what you want. Ask yourself questions like: What are my dreams? What goals do I want to achieve this year? Understanding your purpose sets the foundation for your vision board. This will guide you in selecting images and words that truly resonate with your aspirations.
Step 2: Gather Visual Inspirations
Collect materials that represent your goals. Look for images in magazines, online printouts, or even personal photos. These visuals should inspire you and reflect your aspirations. Consider themes that resonate with you, such as career success, travel, relationships, or health. The more personal, the better!
Step 3: Sort and Curate
Once you’ve gathered your visuals, take time to sort through them. Ask yourself what each image or word means to you. Which ones evoke strong feelings? Keep the ones that resonate the most and align with your vision. This process helps you focus on what’s truly important.
Step 4: Organize Your Board Layout
Before gluing down anything, create a rough layout on your board. Arrange your images and words in a way that feels balanced and aesthetically pleasing. You can cluster similar themes together or create sections for different life areas like career, health, and relationships. A well-thought-out layout can enhance the power of your vision board.
Step 5: Assemble Your Vision Board
Now it’s time to bring everything together! Start gluing or pinning your chosen images and words onto your board, sticking to your planned layout. Use markers to add positive affirmations or keywords that motivate you. Don’t be afraid to get creative! Add colors, stickers, or even drawings to make it truly yours. The more you personalize it, the more impactful it becomes.
Step 6: Place Your Vision Board
Find a spot where you’ll see your vision board daily. It could be in your bedroom, office, or even your bathroom. The goal is to keep it in a place that inspires you. Seeing your vision board regularly reinforces your goals and keeps you motivated on your journey.
Step 7: Regularly Review and Update
As you progress and your goals evolve, revisit your vision board. Take time to reflect on what you’ve achieved and what still inspires you. Feel free to add new images, remove completed goals, or change things up. This keeps your vision board fresh and relevant, ensuring it continues to motivate you.
Pro Tip: Use your vision board as a tool for visualization. Spend a few moments each day looking at it and visualizing yourself achieving those goals. This practice helps align your mind with your desires and can enhance your motivation.
By following these steps, you create a vision board that not only looks good but truly works as a powerful tool for goal setting and visualization. Remember, the key is to make it personal and meaningful to you!
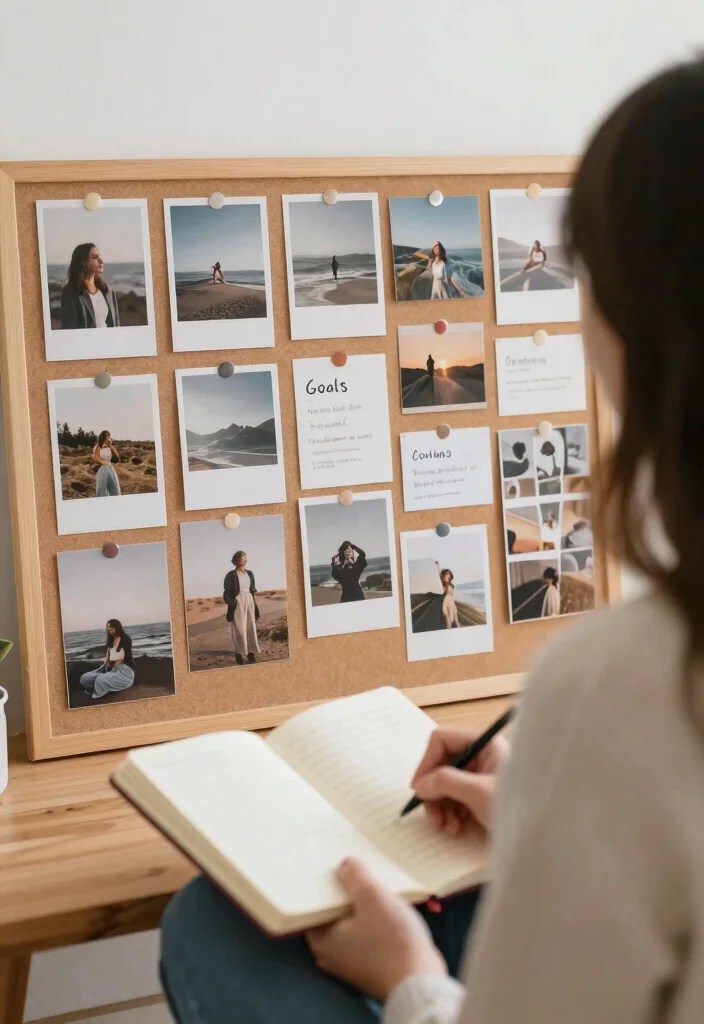
3. Defining Your Goals
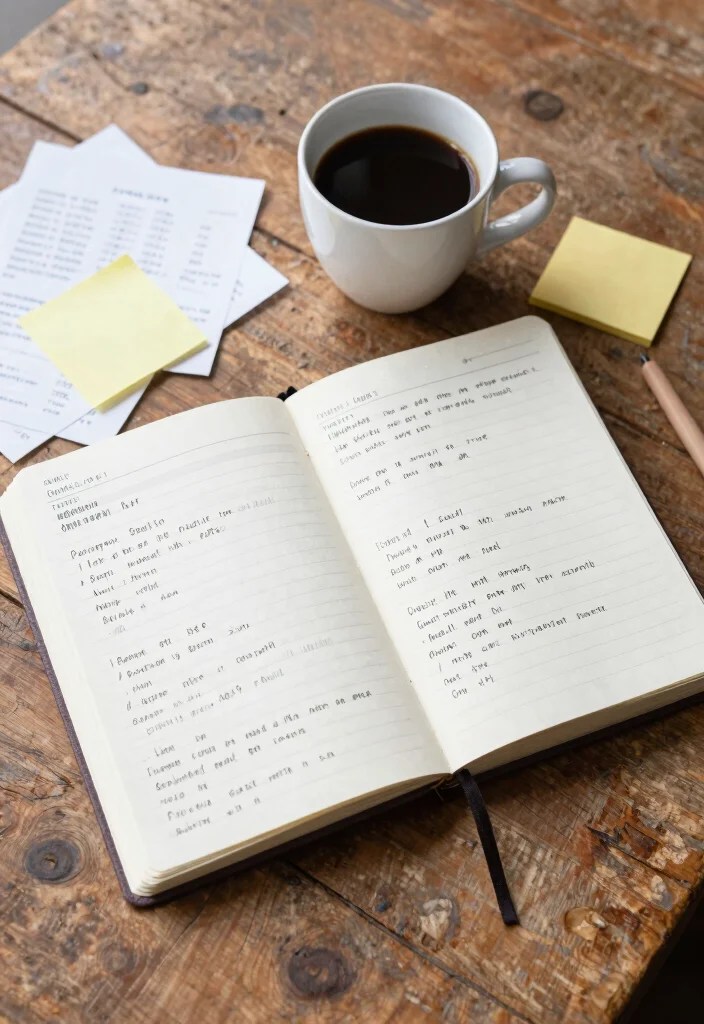
Before diving into your vision board design, take a moment to think deeply about your goals. What do you truly want out of life? Break these goals into categories, such as career, health, relationships, and personal growth. This clarity will guide your image selection and make your board more meaningful. Be specific; instead of saying ‘travel more,’ define exactly where you want to go and what experiences you seek.
Focus on what truly matters to you. Consider using the SMART criteria—Specific, Measurable, Achievable, Relevant, and Time-bound—to refine your objectives. Journaling your thoughts can further illuminate your deepest desires.
Steps to define your goals:
– Categorize Your Goals: Focus on different areas of your life.
– Use SMART Guidelines: Set clear, actionable objectives.
– Reflect and Journal: Write about your dreams and aspirations.
By defining your goals clearly, you give your vision board purpose, ensuring each image and word resonates with your true self.
Defining Your Goals
Editor’s Choice


4. Curating Your Images and Words
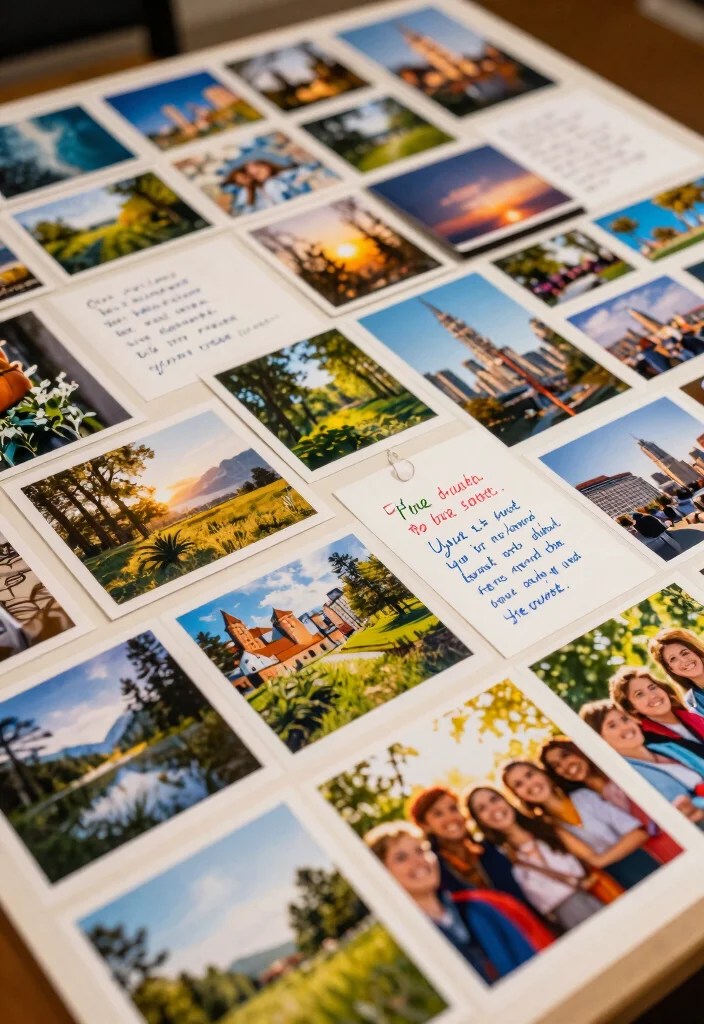
With your goals established, it’s time to select the images and words that bring them to life on your vision board. Seek visuals that evoke the emotions tied to each goal, whether they come from magazines, printed images, or personal photos. Don’t forget about the power of words; inspirational quotes can provide motivation. Choose phrases that uplift and align with your vision.
Think about how each image represents your goals and the feelings they inspire. Mixing visuals with text creates a dynamic layout that captures your attention and keeps you engaged.
Tips for curating your board:
– Select Joyful Images: Pick visuals that excite you.
– Incorporate Motivational Words: Use quotes that resonate deeply.
– Create Variety: Balance visuals and text for a lively layout.
This is where your vision board starts to come alive! Let your emotions guide your choices as you craft a space that feels authentic and inspiring.
Your vision board should feel alive, not perfect. Curate images and words that spark real emotion for each goal, then place it where you’ll see it daily. Small, repeated visuals plus phrases keep your vision in reach.
5. Design Your Board
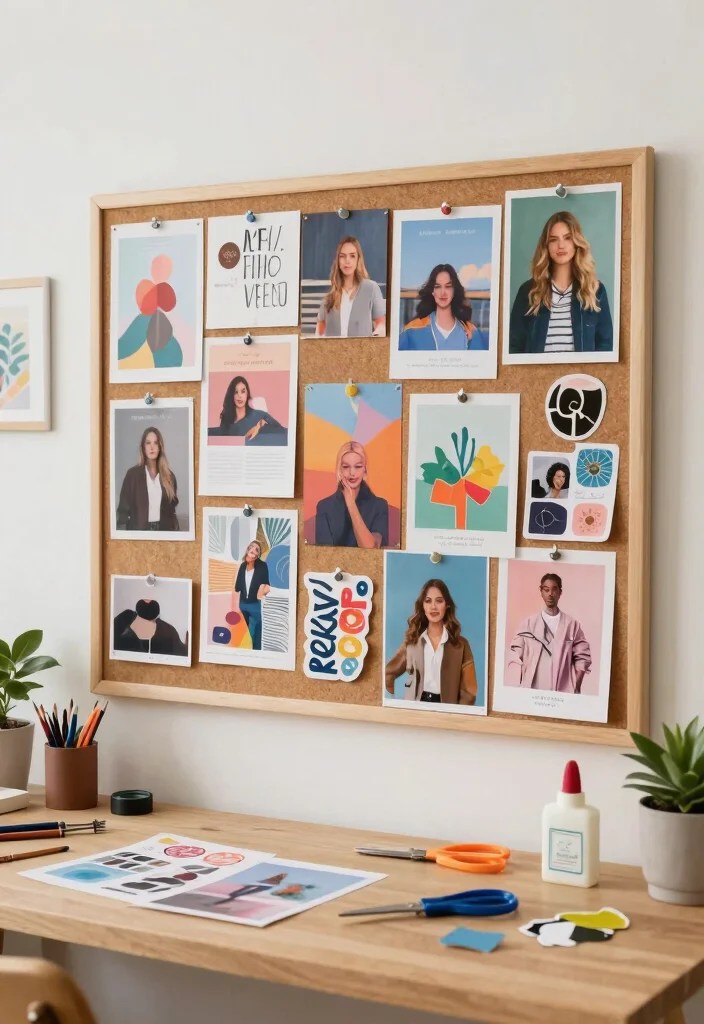
Now comes the exciting part—designing your vision board! Begin arranging the images and words you’ve chosen. There’s no right or wrong way to do this; it’s all about what feels right for you. Experiment with different layouts—whether you prefer a collage-style or a more structured arrangement. Keep arranging until you find a style that resonates with your vision.
Make sure to leave some space for future additions. This flexibility allows your board to evolve as your goals grow. Personal touches can elevate the overall look and feel of your design.
Design ideas to explore:
– Try Different Layouts: Go for grid styles or thematic sections.
– Ensure Balance: Create a harmonious flow between elements.
– Add Personal Touches: Use decorative items like washi tape.
This design phase is a chance to express yourself and connect emotionally with your goals. Your vision board should reflect your dreams and inspire action.
Your vision board thrives when you start loose and let it evolve. Arrange images until the layout sparks action, then leave space for future goals so it can grow with you.
@media (max-width: 768px) { .internal-links-flex { flex-direction: column !important; } .internal-links-flex > div { flex: none !important; } }
You might also like

10 Best Valentine’s Day Nail Art Kits of 2025 – Create Stunning Designs at Home
6. Assembling Your Vision Board

Once you’re satisfied with your design, it’s time to assemble your vision board. Carefully glue or pin each image and word onto the board. Take your time—it’s a reflective process that allows you to breathe life into your dreams. As you secure each element, think about the emotions they evoke and reinforce your commitment to your goals.
Consider using different attachment methods based on your board type. Personalize it further with doodles or embellishments that reflect your personality.
Steps for assembly:
– Choose Your Attachment Method: Use glue sticks for paper or push pins for corkboards.
– Secure Everything: Make sure everything is firmly in place.
– Add Personal Doodles: Incorporate hand-drawn elements.
This assembly phase transforms your collection of images and words into a tangible vision board, making your dreams feel achievable.
📹 Related Video: A New Way to Make Vision Boards that Changes Everything
7. Placing Your Vision Board
After completing your vision board, its true power is realized when you place it where you will see it daily. This could be in your office, bedroom, or even as a digital screensaver. The key is to position it prominently so it serves as a constant reminder of your goals. The more you see it, the more motivated you’ll feel to pursue your dreams.
Think about the environment around your board. Creating a cozy, inspiring atmosphere can enhance its effect. If a digital version suits you better, use apps or websites to keep it accessible.
Placement tips to consider:
– Choose a Visible Spot: Make it the first thing you see each morning.
– Create an Inspiring Space: Surround it with positivity.
– Explore Digital Options: Use online tools for easy access.
Your vision board should serve as your personal sanctuary of inspiration, encouraging you to pursue what you want in life.
Place your vision board where you’ll see it every day—on your desk, by the bed, or as a screensaver. The simple daily glance keeps your goals near, and small, consistent actions add up. The more you look, the more you’ll act.
8. Regularly Review and Update
Creating your vision board is just the first step; regularly reviewing and updating it is key to keeping it fresh and inspiring. As you progress toward your goals or as your dreams evolve, feel free to replace images or add new ones that better reflect your current path. This keeps your vision board relevant and ensures it continues to motivate you as you grow.
Set aside time each month to assess your board. This proactive approach helps reinforce your intentions and keeps your dreams vibrant.
Reviewing tips to keep in mind:
– Schedule Monthly Check-Ins: Evaluate your goals and update your board.
– Celebrate Achievements: Replace completed goals with new aspirations.
– Gather Fresh Inspirations: Include new images that align with your evolving dreams.
By consistently engaging with your vision board, you keep your intentions alive and your dreams in focus.
Regularly Review and Update
Editor’s Choice


9. The Power of Affirmations

Adding affirmations to your vision board can greatly enhance its effectiveness. Affirmations are positive, present-tense statements that reinforce your beliefs and intentions. Writing affirmations alongside your images can deepen your emotional connection to your goals. They serve as daily reminders of your capabilities and help overcome self-doubt.
Craft statements that resonate with your aspirations, such as ‘I am capable of achieving my dreams’ or ‘I attract success.’ Display them prominently on your board for maximum impact.
Tips for integrating affirmations:
– Craft Meaningful Affirmations: Make sure they resonate with your goals.
– Integrate Visuals: Place affirmations near related images.
– Recite Daily: Read them aloud to reinforce your mindset.
The combination of imagery and affirmations creates a powerful mantra, propelling you toward your dreams.
The Power of Affirmations
Editor’s Choice


10. Celebrate Your Progress

Finally, don’t forget to acknowledge your progress as you pursue your goals! Celebrating small victories keeps you motivated and fosters a positive mindset. As you check off items from your vision board, take a moment to reflect on your achievements and reward yourself. Whether it’s a cozy night in or a fun outing with friends, celebrating your journey is essential.
Break your long-term goals into smaller milestones to make celebrating easier. Reflecting on your experiences will deepen your appreciation for your journey.
Ways to celebrate:
– Set Milestones: Break big goals into smaller, celebratory steps.
– Journal Your Experiences: Record your feelings after achieving a goal.
– Use Your Board for Reminders: Keep your progress visible and inspiring.
Embracing your journey and celebrating successes cultivates a positive attitude toward achieving your dreams.
Celebrate Your Progress
Editor’s Choice


Conclusion

Creating a vision board is a powerful and creative way to visualize your goals and aspirations. By following these steps, you can craft a board that not only looks beautiful but also serves as a daily reminder of your dreams and the actions you need to take to achieve them. Embrace the journey of personal growth and the magic of visualization, and let your vision board guide you toward your best life!
Remember, your dreams are within reach, and every glance at your vision board can spark the motivation needed to keep moving forward.
Note: We aim to provide accurate product links, but some may occasionally expire or become unavailable. If this happens, please search directly on Amazon for the product or a suitable alternative.
This post contains Amazon affiliate links, meaning we may earn a small commission if you purchase through our links, at no extra cost to you.
Frequently Asked Questions
What is a vision board and how can it help with goal setting?
A vision board is a visual representation of your goals and dreams. It helps with goal setting by clarifying priorities and providing a daily cue to take action. Through visualization, your brain reinforces what’s important, making it easier to stay motivated when distractions arise.
To start: define 3–5 specific goals, gather images, words, and quotes that symbolize them, choose a board format (physical corkboard or digital), arrange items in a way that feels energizing, and place the board where you’ll see it every day. Then review and refresh it monthly to stay aligned with your progress and shifts in your priorities.
How do I start creating a vision board step by step?
Here’s a simple step-by-step approach you can follow to create a vision board that actually works: define clear goal setting targets, gather images, words, and colors that symbolize these goals, decide on a format (physical board or digital collage), arrange items in a way that feels inspiring, add brief action notes for each goal, display the board somewhere visible, and revisit weekly to update progress and keep your visualization alive.
Tip: start with just 3–5 goals to keep it focused and achievable.
What makes a vision board effective and how can I ensure it actually works?
An effective vision board aligns with your values and goals, uses vivid imagery, and stays visible enough to influence daily choices. Make sure your board includes clear goal setting statements and varied imagery that evokes strong emotions. To ensure it works: commit to a regular visualization practice, translate board items into concrete actions, set deadlines, and track progress. Update the board as your priorities shift, and celebrate small wins to reinforce momentum.
Can a digital vision board be as effective as a physical one?
Yes—digital vision boards can be just as effective if you design them for regular engagement. Use high-quality images, dynamic layouts, and keep the board easily accessible on your phone or computer for quick visualization moments. Pair it with a daily journaling habit or a quick visualization exercise to reinforce goals. The key is consistency, not the format.
How often should I update or refresh my vision board, and what should trigger an update?
Plan to refresh your vision board every 4–12 weeks, or whenever your priorities shift significantly. If a goal becomes irrelevant, remove it and replace it with a new one; if a new priority emerges, add it with clear imagery and goal setting anchors. Regular reviews keep the vision board aligned with your values and ensure it stays motivating.
Related Topics
vision board
goal setting
visualization techniques
creative planning
beginner friendly
mindfulness practices
DIY vision board
manifestation tips
yearly goals
personal growth
motivational tools
easy crafting

Leave a comment